
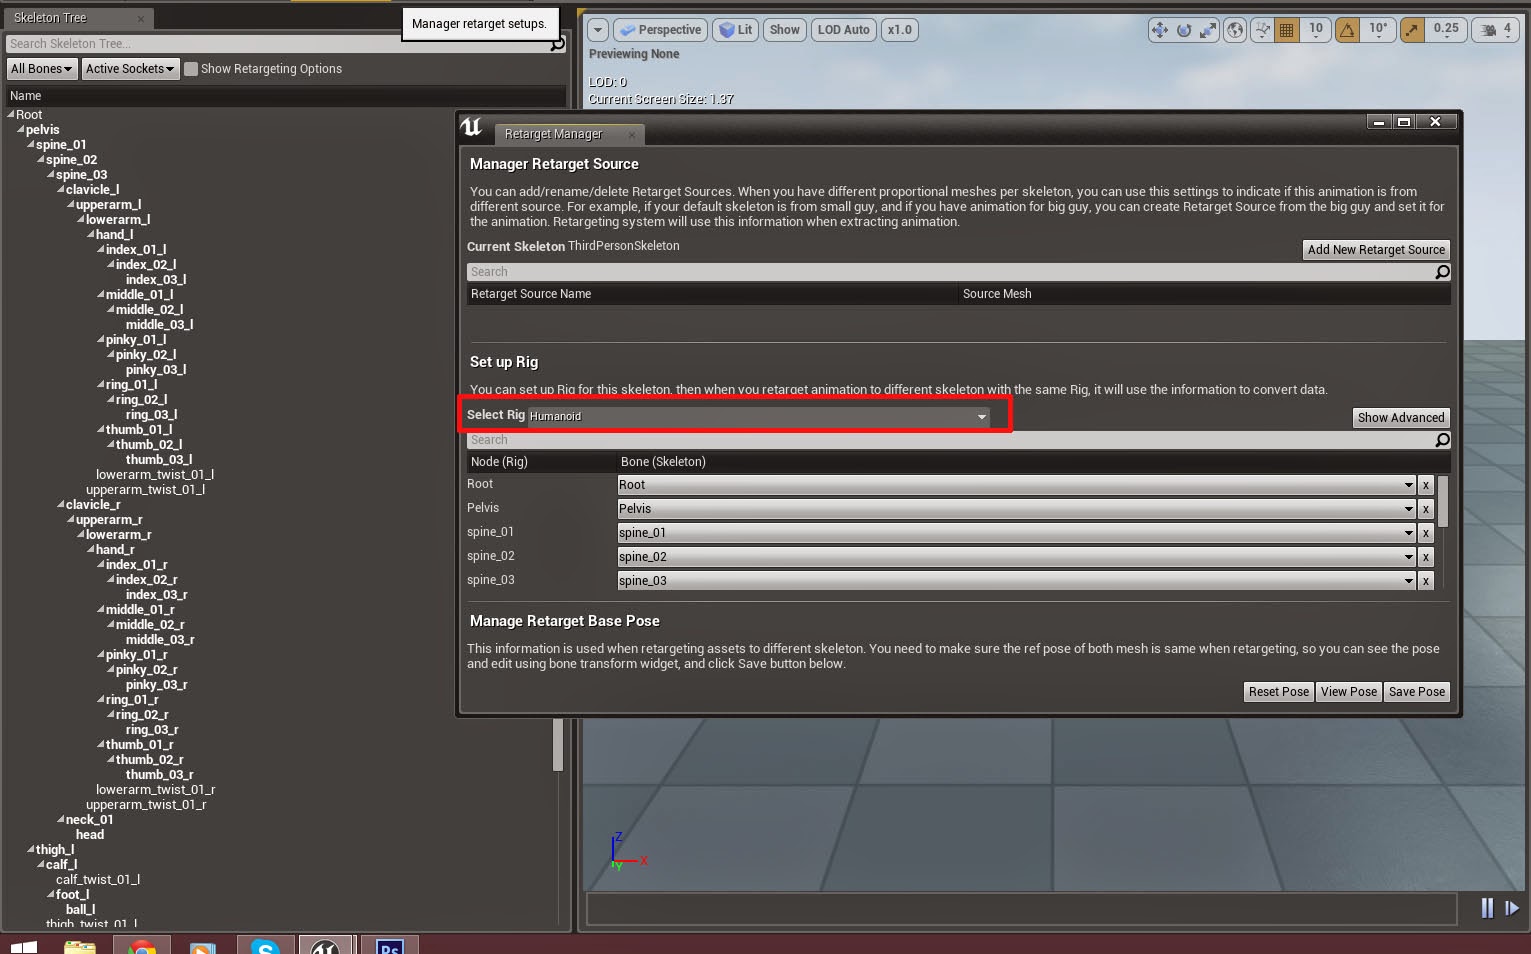
I realised that the issue I had with my rig was due to an error in re-targeting the skeleton. The Unreal engine skeleton and my Biped featured "twist" bones. When originally re-targeting my biped to the unreal skeleton I matched the twist bones of both skeletons together (ex. my bipeds upper_arm twist linked to the Ue4 upper_arm twist) When in fact they needed to be linked to regular (non twist) bones. No idea why though.
Here's a quick guide on the process, to help anyone who might be stuck on this, and so I don't forget how to do this:
- fully rig and skin your model. (Optional rename the bones in your model so they match the ue4 skeleton as bones of the same name automatically re-target to each other.)
- Export your model as an fbx with animation baked.
- Open up your Unreal engine project, for this I'm using the default 3rd person view project.
- import the mesh into ue4 as a skeletal mesh with these settings:

 |
| Double Click |
 |
| The desired A pose |
Note: Make sure to click the "show advanced" option to get everything.


Your mesh now has the Unreal Engines animations rigged to it!
Select the character blueprint in the "blueprints" folder. In the mesh tab replace the default animation blueprint with the one linked to your custom character. Finally replace the mesh with your custom character

And you're done! =)
UPDATE: Your mesh might have shrunk after setting it to the playable character. I have no idea what causes this. You just need to rescale the mesh in the character blueprint viewport.


No comments:
Post a Comment